
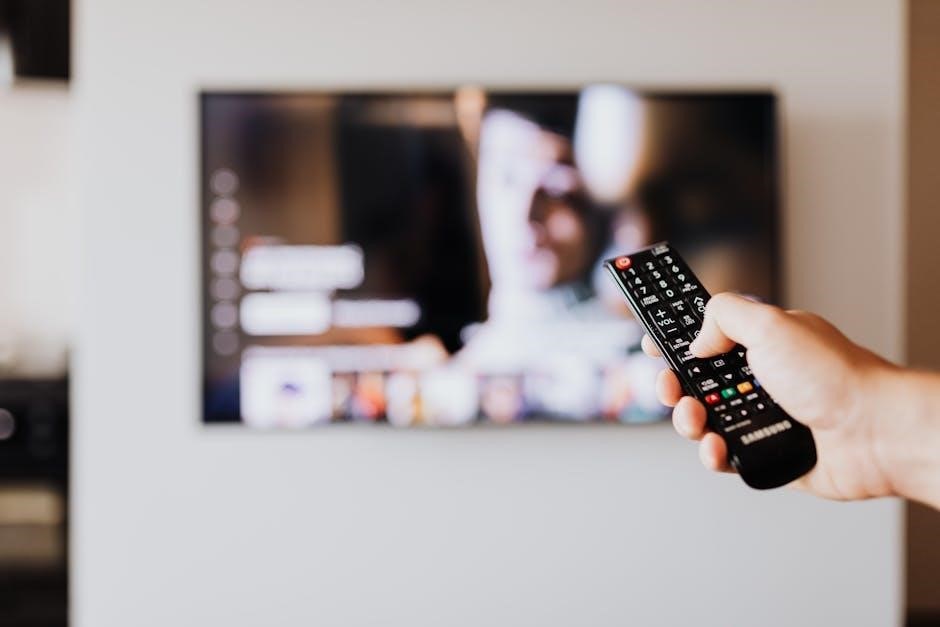
The Minka Aire Ceiling Fan Remote Control offers convenient and efficient control of your ceiling fan, providing seamless operation of speed settings and light functionality with ease.
1.1 Overview of Minka Aire Ceiling Fan Remote Control Features
The Minka Aire remote control offers convenient speed adjustments, light kit control, and dimming functionality for seamless fan and lighting management. It features a learning frequency function and timer settings for advanced customization. Designed for DC motor fans, it ensures smooth operation and energy efficiency. The remote is user-friendly, with intuitive buttons for easy navigation, making it a versatile tool for enhancing your ceiling fan experience.
1.2 Importance of Proper Remote Control Setup
Proper setup ensures optimal performance and trouble-free operation of your Minka Aire ceiling fan remote. Correct pairing and installation prevent interference issues and ensure reliable communication between the remote and receiver. Following setup instructions carefully guarantees full functionality, including speed control and light dimming, enhancing overall user experience and longevity of the remote control system.

Unboxing and Preparing the Remote Control
Unbox and inspect all components, including the remote, receiver, and batteries. Familiarize yourself with the remote layout and ensure all items are included for proper setup and operation.
2.1 Checking Components Included in the Package
Verify the package contains the remote control, receiver unit, mounting hardware, batteries, and instructions. Ensure all items are undamaged and compatible with your Minka Aire ceiling fan model for proper installation and functionality.
2.2 Understanding the Remote Control Layout
Familiarize yourself with the remote’s layout, featuring buttons for fan speed adjustment, light control, and dimming (if applicable). The design is intuitive, with clear labels for each function, ensuring easy operation of your Minka Aire ceiling fan. The remote may also include a timer function for added convenience, enhancing your overall user experience with streamlined controls.
Installing the Remote Control Receiver
Mount the receiver unit securely near the ceiling fan, ensuring proper alignment and connection to the fan’s wiring harness for reliable signal transmission and control functionality.
3.1 Mounting the Receiver Unit
Mount the receiver unit near the ceiling fan, ensuring it’s securely fastened to a stable surface. Align the unit properly with the fan’s wiring harness to ensure optimal signal reception. Connect the receiver to the fan’s motor and light kit, following the provided wiring diagram. This setup ensures reliable communication between the remote control and the ceiling fan system, allowing smooth operation of speed and light functions. Proper installation is crucial for uninterrupted performance and to prevent any potential issues with signal transmission or control functionality.
3.2 Connecting the Receiver to the Ceiling Fan
Connect the receiver unit to the ceiling fan by attaching the wiring harness to the fan’s motor and light kit. Ensure the black and white wires are securely connected to the corresponding terminals. If your fan has a light kit, connect the blue wire to the light’s power terminal. Double-check all connections for accuracy to ensure proper functionality. Consult the manual for specific wiring diagrams tailored to your Minka Aire model.
Pairing the Remote Control with the Ceiling Fan
Pairing involves selecting the desired frequency on the transmitter and pressing the power button to sync the remote with the receiver. Ensure the receiver is properly connected and powered for successful pairing. This process ensures seamless communication between the remote and ceiling fan, allowing smooth operation of speed and light controls.
4.1 Setting the Frequency on the Transmitter
To set the frequency, locate the dip switches on the transmitter, typically found on the back or bottom. Choose a frequency that matches the receiver’s preset or desired setting. Press and hold the power button to test the connection. Ensure the receiver is properly connected to the fan and powered on. This step ensures the remote control communicates effectively with the ceiling fan system. Follow the manufacturer’s guidelines for optimal results;
4.2 Syncing the Remote Control with the Receiver
To sync the remote control with the receiver, ensure both devices share the same frequency. Press and hold the power button on the transmitter and receiver simultaneously for three seconds. The ceiling fan will respond when synced. This ensures smooth communication between the remote and the fan. The transmitter is pre-programmed with a learning frequency function, allowing it to adapt to the receiver’s settings for optimal performance.
Operating the Remote Control
Operate your Minka Aire ceiling fan by turning it on/off, adjusting speed, and controlling the light kit with the remote. Install A23 batteries for functionality.
5.1 Adjusting Fan Speed Settings
Adjust fan speed using the remote’s designated buttons. Press the speed button to cycle through high, medium, low, or off settings. Some models feature a four-speed control, while others may include additional options. Ensure the remote is properly paired with the receiver for smooth operation. The LED indicator on the remote or receiver may confirm successful speed adjustments, providing visual feedback for seamless control.
5.2 Controlling the Light Kit (if applicable)
If your Minka Aire ceiling fan includes a light kit, the remote control allows you to toggle the light on and off using a dedicated button. Some models may also offer dimming functionality, enabling you to adjust brightness levels. Ensure the remote is paired correctly with the receiver for seamless light control. Refer to your manual for specific button assignments, as they may vary by model.
5.3 Using the Dimming Function (if applicable)
The dimming function on your Minka Aire remote allows precise control over light brightness. Use the designated dimming buttons to gradually adjust the light intensity. For models with this feature, ensure the receiver is correctly paired with the remote. Some remotes may require holding the dim button to adjust brightness smoothly. Always refer to the user manual for specific instructions tailored to your fan model.
Troubleshooting Common Issues
Common issues include the remote not responding or the fan not changing speed. Check battery connections, ensure proper pairing, and verify frequency settings. Restarting the system often resolves these problems. Refer to the manual for detailed solutions and additional guidance to address specific malfunctions effectively and efficiently.
6.1 Remote Control Not Responding
If the remote control stops responding, first check the battery connections and ensure they are securely placed. Replace batteries if necessary. Verify the remote is paired correctly with the receiver. Ensure no obstructions block the signal. If issues persist, reset the system by turning off the power, waiting a few minutes, and then restarting. Consult the manual for further troubleshooting steps.
6.2 Fan Not Changing Speed
If the fan fails to change speed, ensure the remote control is functioning correctly and paired with the receiver. Check connections between the receiver and fan motor. Verify that the speed setting on the remote is adjusted properly. If issues continue, inspect the wiring for any damage or loose connections. Resetting the system by turning power off and on may resolve the issue. Consult the manual for detailed guidance.
6.3 Light Not Turning On/Off
If the light does not turn on or off, check the remote control’s battery power and ensure it is functioning properly. Verify that the light kit is correctly connected to the receiver. Reset the system by turning off the power supply and turning it back on. Ensure the remote control is synced with the receiver and the light function button is pressed correctly. Consult the manual for further troubleshooting steps if the issue persists.
Maintaining the Remote Control
Regular maintenance ensures optimal performance. Check battery connections, clean buttons with a soft cloth, and store the remote in a dry place to prevent damage.
7.1 Replacing Batteries
To replace batteries, open the remote’s battery compartment, usually found on the back. Remove the old batteries and insert new A23 12-volt batteries, ensuring proper alignment. Close the compartment securely. Regular battery replacement prevents power issues and ensures consistent control over your ceiling fan’s functions. Always use the recommended battery type for optimal performance.
7.2 Cleaning the Remote Control
Regularly clean the remote control using a soft cloth and mild detergent to remove dirt and grime. Avoid using harsh chemicals or liquids, as they may damage the buttons or electronics. Gently wipe the surface and buttons, ensuring no moisture seeps inside. Proper cleaning maintains functionality and prevents wear, keeping your remote control operating smoothly and extending its lifespan.
Advanced Features of the Remote Control
The Minka Aire remote offers advanced features like timer functions and learning frequency, allowing customization and seamless control. Its 1024 frequency options ensure secure, interference-free operation.
8.1 Timer Function
The timer function on the Minka Aire remote allows users to set specific durations for fan operation. This feature enhances convenience by automatically turning the fan off after the set time, saving energy and reducing manual adjustments. It’s ideal for maintaining consistent airflow without constant monitoring, making it a practical addition for everyday use.
8.2 Learning Frequency Function
The learning frequency function enables the remote to adapt to the ceiling fan’s specific frequency, ensuring a stable and secure connection. This feature minimizes interference from other devices and allows the remote to remember the fan’s unique frequency, providing reliable operation and seamless control of the fan’s functions with just a few button presses.

Warranty and Support Information
Minka Aire offers a lifetime warranty on the ceiling fan motor, excluding wall controls and electrical components. For support, contact their customer service team directly.
9.1 Understanding the Warranty Coverage
Minka Aire provides a lifetime warranty for the ceiling fan motor, ensuring durability and performance. Remote controls and wall units are covered under a limited warranty, addressing manufacturing defects. The warranty excludes electrical components and labor costs, offering peace of mind for users while outlining clear coverage boundaries for all included parts and accessories.
9.2 Contacting Minka Aire Customer Support
For any inquiries or assistance, Minka Aire customer support can be reached via phone, email, or through their official website. Ensure to have your product model number ready for efficient service. Visit the support section on their website for troubleshooting guides, FAQs, or to submit a request form. Representatives are available to address concerns and provide solutions promptly.
The Minka Aire ceiling fan remote control enhances convenience and efficiency, offering seamless speed and light adjustments. Proper setup and maintenance ensure optimal performance and longevity.
10.1 Summary of Key Steps
Unbox and prepare the remote, ensuring all components are included. Install the receiver unit near the ceiling fan, then connect it securely. Pair the remote by setting the frequency and syncing it with the receiver. Operate the fan using the speed and light controls. Troubleshoot common issues like non-response or speed malfunctions. Regularly maintain the remote by replacing batteries and cleaning it. This ensures smooth operation and longevity of the system.
10.2 Final Tips for Optimal Use
Keep the remote control clean and dry to ensure proper functionality. Regularly check and replace batteries to maintain consistent performance. Utilize advanced features like timers and dimming for energy efficiency. Refer to the user manual for specific instructions tailored to your model. For any unresolved issues, contact Minka Aire customer support for assistance. Proper care will extend the life of your remote and ensure seamless operation.