Kiptopeke State Park‚ located on Virginia’s Eastern Shore near Cape Charles‚ offers a campground with 62 sites and access to Chesapeake Bay‚ ideal for outdoor activities and exploring the historic breakwater.

1.1 Overview of Kiptopeke State Park
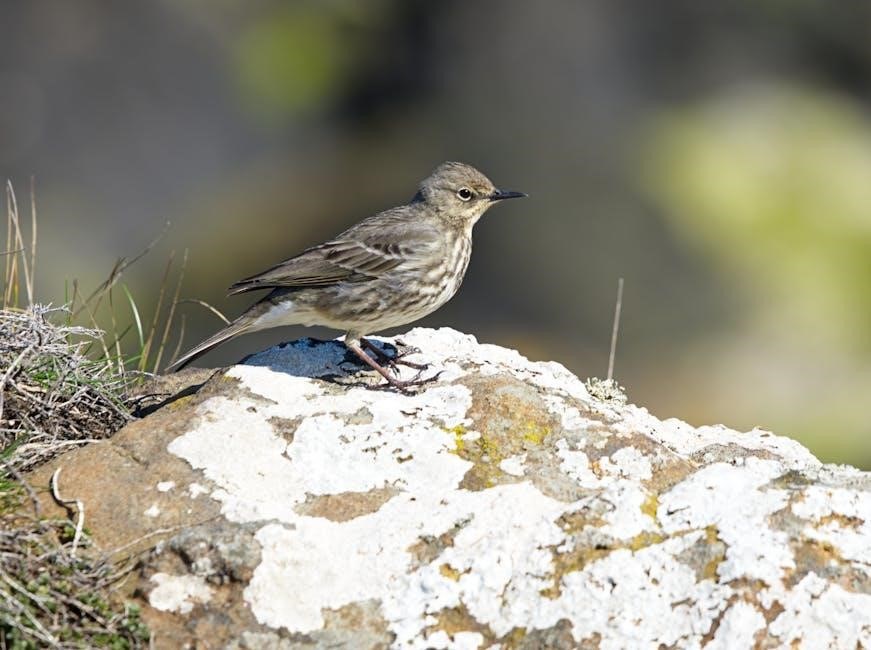
Kiptopeke State Park‚ established in 1992‚ is a scenic destination on Virginia’s Eastern Shore‚ offering 62 campsites and a unique breakwater made from WWII ships. The park serves as a vital stopover for migratory birds and provides access to the Chesapeake Bay and Atlantic Ocean. Its diverse habitats support a wide range of wildlife‚ making it a fascinating spot for nature enthusiasts. With its mix of coastal landscapes and historical features‚ Kiptopeke State Park is a must-visit for outdoor lovers seeking to explore Virginia’s natural beauty and rich environmental heritage.
1.2 Key Features of the Park
Kiptopeke State Park is renowned for its unique breakwater‚ a 1‚500-foot-long structure made from nine surplus World War II concrete ships; The park also features a campground with 62 single campsites‚ offering easy access to the Chesapeake Bay and Atlantic Ocean. Its coastal habitats attract migratory birds‚ making it a hotspot for birdwatching. The park’s diverse landscape includes beaches‚ trails‚ and wetlands‚ providing ample opportunities for hiking‚ biking‚ and water activities. These features make Kiptopeke a standout destination for nature lovers and history enthusiasts alike‚ showcasing Virginia’s rich environmental and historical heritage.

Understanding the Kiptopeke State Park Map PDF
The Kiptopeke State Park map PDF details trails‚ campground layouts‚ and key symbols‚ helping visitors navigate the park’s features‚ including the breakwater and coastal access points effectively.
2.1 How to Read the Map
The Kiptopeke State Park map PDF is designed to help visitors navigate the park’s trails‚ facilities‚ and natural features. The map uses color-coded trails to distinguish hiking‚ biking‚ and shared paths. Symbols indicate amenities like restrooms‚ parking areas‚ and water access points. Contour lines show elevation changes‚ helping users understand the terrain. A scale bar provides distance measurements‚ while the legend explains the meaning of each symbol. The map also highlights the park’s unique features‚ such as the historic breakwater and Chesapeake Bay access points. Digital versions are geo-referenced‚ allowing users to track their location within the park using GPS-enabled devices.
2.2 Key Symbols and Markings
The Kiptopeke State Park map PDF uses distinct symbols to guide visitors. Trails are marked with color-coded lines: blue for Baywoods Trail‚ light green for Brown Pelican Trail‚ and yellow for Chickadee Trail. Symbols for rest areas‚ parking lots‚ and water access points are clearly labeled. The map also highlights the park’s boundary‚ elevation levels‚ and bodies of water. A legend explains the meaning of each symbol‚ ensuring easy navigation. The scale bar and distance markers help users gauge distances accurately‚ while GPS-compatible digital maps offer precise location tracking‚ enhancing the overall navigation experience for park visitors.
Trails and Pathways in Kiptopeke State Park
Kiptopeke State Park offers diverse trails‚ including the Baywoods Trail (0.8 miles) and Brown Pelican Trail (0.5 miles)‚ ideal for hiking and biking with scenic coastal views.
3.1 Major Hiking Trails
Kiptopeke State Park features several notable hiking trails‚ including the Baywoods Trail and the Brown Pelican Trail. The Baywoods Trail spans 0.8 miles‚ offering a serene journey through wooded areas with occasional glimpses of the surrounding wildlife. Marked with blue blazes‚ it’s a moderate hike suitable for most visitors. The Brown Pelican Trail‚ shorter at 0.5 miles‚ is ideal for a quick exploration and is marked with light green blazes. Both trails provide opportunities to connect with nature and enjoy the park’s unique coastal environment.
3.2 Mountain Bike Trails
Kiptopeke State Park offers an exciting network of mountain bike trails‚ with 13 trails available on an interactive map. The trails vary in difficulty‚ catering to both novice and experienced riders. The Baywoods Trail‚ spanning 0.8 miles‚ and the Brown Pelican Trail‚ at 0.5 miles‚ are popular options‚ with clear markings to guide cyclists. Bikers are advised to wear helmets and stay on designated paths to ensure safety. The park’s diverse terrain provides a thrilling experience‚ combining wooded areas with coastal views. Riders can use the park’s map to plan their route and enjoy the scenic beauty of the area responsibly.

Camping Facilities at Kiptopeke State Park
Kiptopeke State Park offers 62 single campsites with access to Chesapeake Bay. The campground features essential amenities‚ providing a comfortable stay for outdoor enthusiasts and families alike;
4.1 Campground Layout
Kiptopeke State Park’s campground is strategically arranged to offer scenic views and easy access to amenities. The 62 single campsites are distributed across the park‚ ensuring privacy and proximity to natural attractions. A detailed PDF map of the campground layout is available‚ highlighting site locations‚ restrooms‚ and water access points. The layout is designed to accommodate both tent and RV campers‚ with some sites offering electric hookups. The campground’s design blends seamlessly with the park’s coastal environment‚ emphasizing a peaceful and immersive outdoor experience for all visitors.
4.2 RV Park and Amenities
Kiptopeke State Park’s RV park offers convenient amenities for campers‚ including electric hookups and access to restrooms with showers. The park’s PDF map details the layout of RV-friendly sites‚ ensuring easy navigation. Water access points are strategically located‚ and the campground is designed to accommodate both tent and RV campers. Picnic tables and grills are available at most sites‚ enhancing the outdoor experience. The RV park is surrounded by scenic views of the Chesapeake Bay‚ making it an ideal spot for nature lovers and those seeking a peaceful retreat with modern conveniences.
Unique Features of Kiptopeke State Park
Kiptopeke State Park features a historic breakwater made from nine surplus World War II concrete ships‚ offering a unique coastal landmark and habitat for marine life.
5.1 The Historic Breakwater
The historic breakwater at Kiptopeke State Park is a unique coastal landmark‚ formed by nine surplus World War II concrete ships. This 1‚500-foot-long structure protects the shoreline and provides a habitat for marine life. It also serves as a popular spot for fishing and sunset viewing. The breakwater is a testament to the park’s historical significance and its role in preserving coastal ecosystems. Visitors can explore this remarkable feature‚ which has become a defining element of the park’s landscape and a focal point for both recreation and environmental conservation efforts.
Regulations and Safety Guidelines
Kiptopeke State Park requires a $7 parking fee and prohibits cutting plants or feeding wildlife. Alcohol use is restricted to private areas‚ and visitors must park in designated spots.
6.1 Parking and Entry Rules
Kiptopeke State Park requires a $7 parking fee‚ which is charged year-round. Visitors must park only in designated areas‚ as indicated on the park map. Honor parking information is available at the park entrance. Adherence to these rules helps preserve the park’s environment and ensures visitor safety. Failure to comply may result in fines or other penalties. Always follow posted signs and instructions from park staff to ensure a smooth and enjoyable visit. Proper parking is essential to maintain the park’s natural beauty and accessibility for all guests.
6.2 Environmental and Wildlife Regulations
To protect Kiptopeke State Park’s unique coastal habitat‚ visitors must adhere to strict environmental rules. Feeding wildlife is prohibited‚ as it disrupts natural behaviors and ecosystems. Cutting or damaging plants and trees is also forbidden‚ ensuring the preservation of native vegetation. Staying on designated trails helps minimize human impact on sensitive areas. The park is a vital habitat for various species‚ and these regulations are in place to safeguard both wildlife and visitors. Failure to comply may result in fines or penalties. Respect for these guidelines ensures the park remains a pristine environment for future generations to enjoy.

Nearby Attractions and Points of Interest
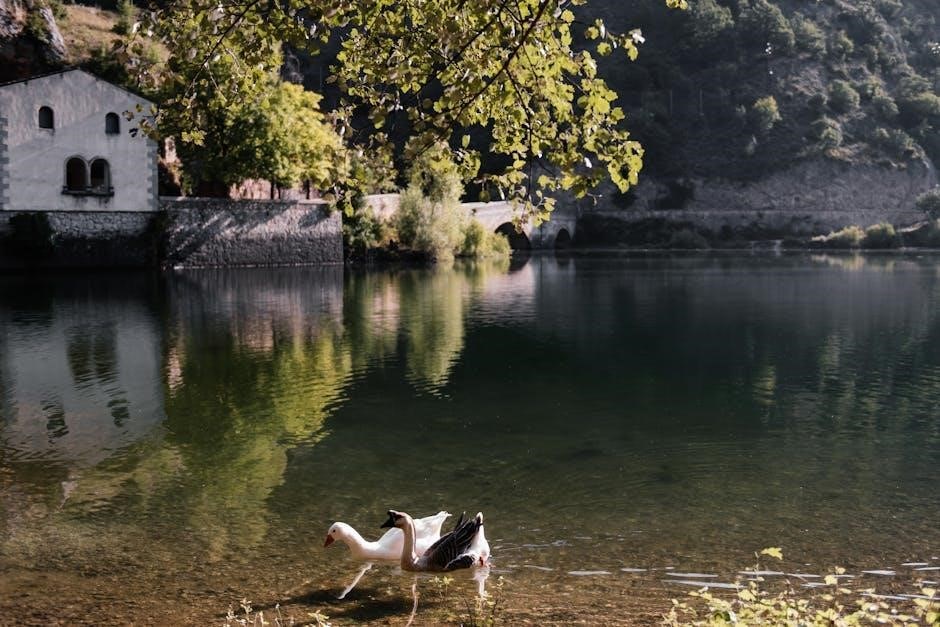
Kiptopeke State Park offers easy access to the Chesapeake Bay and the Atlantic Ocean‚ providing stunning coastal views and unique opportunities for water-based recreational activities year-round.
7.1 Chesapeake Bay and Atlantic Ocean Access
Kiptopeke State Park is strategically located on Virginia’s Eastern Shore‚ offering direct access to both the Chesapeake Bay and the Atlantic Ocean. This unique positioning makes it a prime destination for water-based activities. Visitors can enjoy swimming‚ fishing‚ and kayaking in the bay’s calm waters or explore the ocean’s waves. The park’s shoreline provides breathtaking views‚ while its beach frontage along the Chesapeake Bay stretches for 4‚276 feet. Additionally‚ the nearby breakwater‚ formed by nine WWII concrete ships‚ adds a historic and intriguing feature to the coastal landscape‚ attracting both nature lovers and history enthusiasts alike.
Tips for Visiting Kiptopeke State Park
Plan ahead‚ bring water‚ sunscreen‚ and insect repellent. Download the Avenza map for navigation. Arrive early to secure parking and enjoy the park’s serene atmosphere responsibly.
8.1 Planning Your Visit
Plan your visit to Kiptopeke State Park by checking the park’s schedule and weather forecast. Download the Avenza map for trail navigation and campsite locations. Bring essentials like water‚ sunscreen‚ and insect repellent. Arrive early to secure parking‚ especially during peak seasons. Familiarize yourself with the park’s layout to maximize your time exploring trails‚ beaches‚ and the historic breakwater. Consider visiting during weekdays for a quieter experience. Book campsites or lodges in advance‚ as availability is limited. Check for any specific regulations or closures before your trip to ensure a smooth and enjoyable visit.
8.2 Preserving the Park Environment
Preserving Kiptopeke State Park’s environment is crucial for its sustainability. Visitors are encouraged to stay on designated trails to avoid damaging vegetation. Avoid cutting or harming plants‚ and refrain from feeding wildlife to maintain ecological balance. Properly dispose of waste in provided bins to keep the park clean. Respect wildlife habitats and observe from a distance. Adhere to the “Take only pictures‚ leave only footprints” principle to minimize your impact. Report any environmental concerns to park authorities. By following these guidelines‚ you help protect the park’s unique coastal habitat for future generations to enjoy.