The Jenny Lind Crib is a sturdy, safe, and stylish option for your baby. This guide provides step-by-step instructions for easy assembly and ensures a secure setup.

Overview of the Jenny Lind Crib

The Jenny Lind Crib is a timeless, vintage-inspired design known for its sturdy construction and classic charm. Made from solid wood with a non-toxic finish, it ensures safety and durability. Featuring a three-position mattress support system, it adapts to your child’s growth. The crib is easy to assemble and convert, offering long-term use as it transitions into a toddler bed. Its heirloom-style spindle posts add aesthetic appeal, making it a popular choice for nurseries. With clear instructions and essential hardware included, the assembly process is straightforward, allowing parents to create a secure and comfortable environment for their baby.

History and Design of the Jenny Lind Crib
The Jenny Lind Crib is named after the 19th-century Swedish soprano Jenny Lind, known as the “Swedish Nightingale.” Its design reflects her era’s elegance with spindle posts and classic lines. Crafted from solid wood, it combines durability with a vintage aesthetic. The crib’s design focuses on functionality and safety, featuring a three-position mattress support system. Its convertible nature allows it to evolve with your child, from infancy to toddlerhood. The timeless appeal and heirloom quality have made it a beloved choice for parents seeking a blend of tradition and practicality in nursery furniture.
Preparation for Assembly
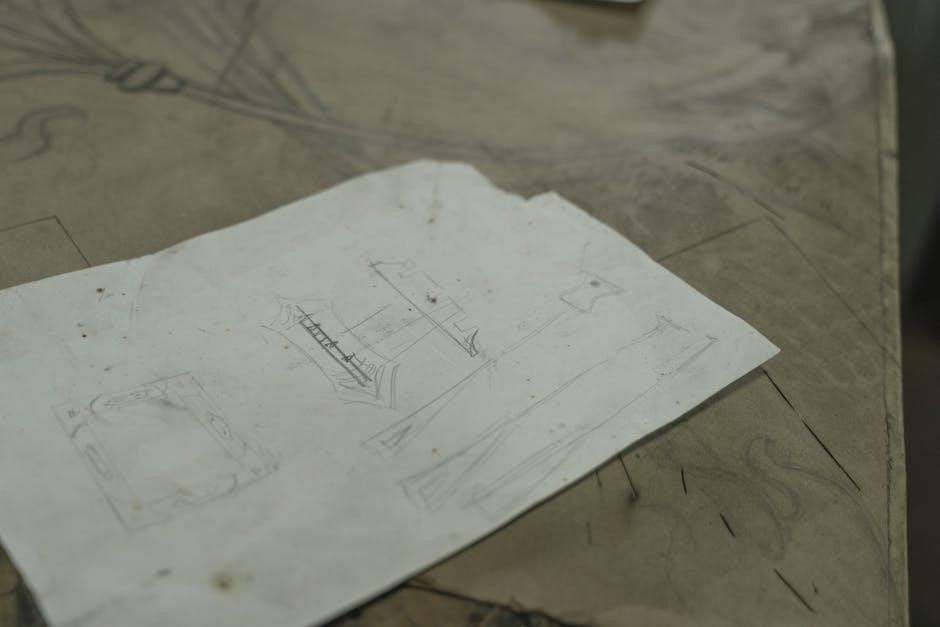
Ensure all parts are included, check for recalls, and review instructions carefully. Organize components and hardware before starting to ensure a smooth assembly process.
Tools and Materials Needed
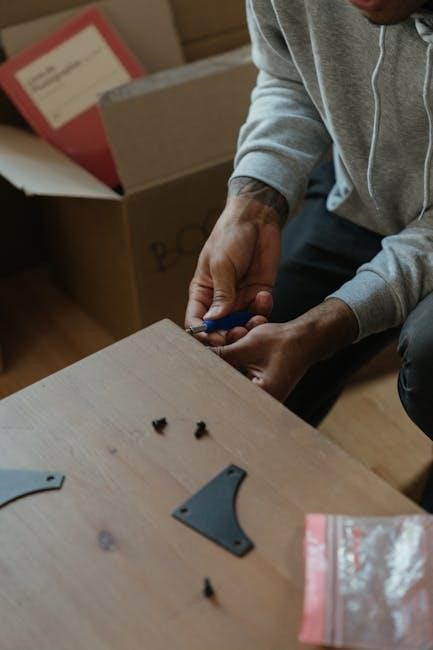
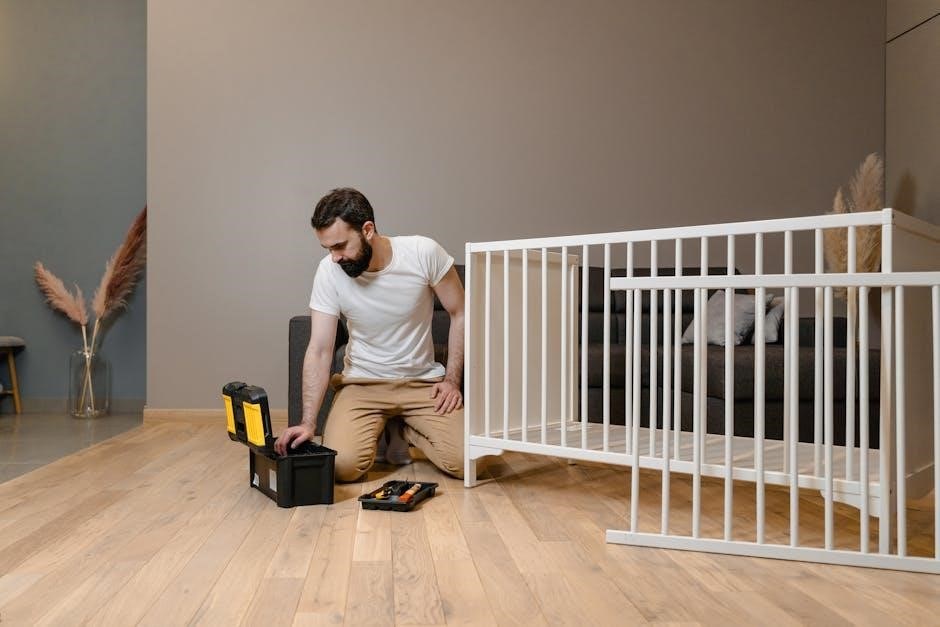
To assemble the Jenny Lind Crib, gather essential tools: an Allen wrench, screwdriver, and rubber mallet. Ensure all hardware, including bolts, screws, and spacers, is included. Organize components like side rails, mattress support, and panels. Double-check the manual for specific requirements. Having a clean, spacious workspace is crucial. Verify that no parts are damaged or missing. If unsure, contact the manufacturer for replacements. Keep the instructions handy for reference. Additional tools like a tape measure may be helpful but are not always necessary. Ensure all items are accounted for before starting to avoid delays. Proper preparation ensures a smooth and efficient assembly process.
Identifying Parts and Hardware
Begin by identifying all components and hardware included in the Jenny Lind Crib box. Key parts include side rails, the crib frame, mattress support, and panel attachments. Hardware typically consists of bolts, screws, and Allen wrenches. Refer to the provided manual or packaging list to confirm each item. Cross-checking ensures no pieces are missing or damaged. Pay attention to labeled diagrams in the instructions to understand each part’s role. Correct identification is crucial for proper assembly and safety. Avoid mixing hardware, as incorrect placement can lead to instability. Organize parts by category to streamline the assembly process and prevent confusion later. This step ensures a smooth and efficient setup.
Unpacking and Organizing Components
Unpack each component carefully to avoid damage. Lay out all parts on a flat surface for easy access. Separate hardware like screws, bolts, and Allen wrenches into labeled containers. Check the instruction manual for a detailed inventory list to ensure no items are missing. Organize larger parts, such as side rails and crib panels, in a logical order based on assembly steps. This methodical approach prevents pieces from getting misplaced and simplifies the assembly process. Keep the manual nearby for quick reference. Proper organization ensures a stress-free and efficient setup experience. A tidy workspace also reduces the risk of losing small hardware pieces. This step sets the foundation for a successful assembly.
Step-by-Step Assembly Guide
This guide provides a clear, detailed process to assemble the Jenny Lind Crib, covering frame assembly, side rails, mattress support, and panel installation with ease and precision.
Assembling the Crib Frame
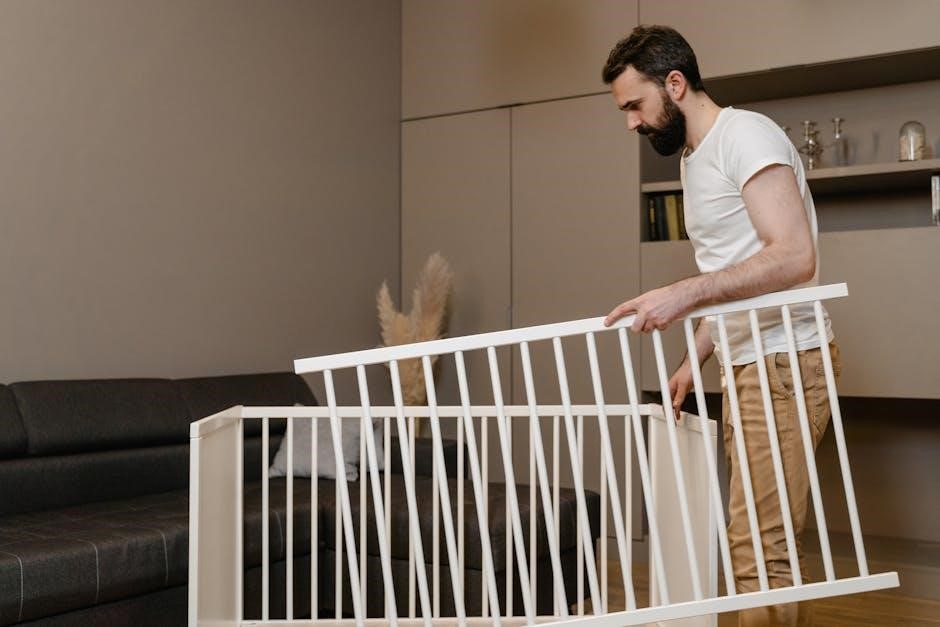
Begin by carefully unpacking and identifying all frame components. Attach the crib legs to the base using the provided bolts, ensuring they are securely tightened. Next, align the side and back panels with the base, matching the pre-drilled holes. Use the Allen wrench to tighten the bolts firmly, ensuring stability. Repeat this process for the front panel, making sure all connections are snug. Double-check that the frame is level and sturdy. If any bolts feel loose, tighten them immediately. Avoid over-tightening, as this could damage the wood. Once the frame is fully assembled, proceed to attach the side rails for added support and structural integrity.
Attaching the Side Rails
Once the crib frame is assembled, attach the side rails to ensure stability and convertibility. Align the side rail brackets with the pre-drilled holes on the crib frame. Secure the rails using the provided bolts, tightening them firmly with an Allen wrench. Make sure the rails are evenly spaced and properly aligned to support the mattress evenly. Double-check that all bolts are tightened securely to prevent any wobbling or instability. If the side rails feel loose, tighten the bolts again until they fit snugly. Properly attached side rails are essential for the crib’s structural integrity and safety. Ensure they are tightly fastened before proceeding to the next step.
Installing the Mattress Support System
The mattress support system is crucial for your baby’s comfort and safety. Begin by positioning the support frame inside the crib, aligning it with the pre-drilled holes on the crib’s base. Secure it using the provided bolts, ensuring they are tightly fastened to prevent any movement. Adjust the height of the mattress support based on your baby’s needs, using the three-position adjustment feature. Double-check that the support system is level and evenly spaced for proper weight distribution. Ensure all bolts are tightened firmly to maintain stability. Refer to the manual for specific torque settings if required. A secure mattress support system ensures your crib is safe and comfortable for your child.
Securing the Back and Front Panels
Attach the back and front panels to the crib frame using the provided bolts and screws. Align the panels with the pre-drilled holes on the crib’s sides, ensuring proper fitment. Tighten the bolts firmly using an Allen wrench to secure the panels in place. Double-check the alignment to ensure the panels are straight and evenly spaced. Once secured, verify that the panels are stable and cannot shift. For added safety, ensure all hardware is tightly fastened and no gaps exist between the panels and the frame. This step is critical for maintaining the crib’s structural integrity and ensuring your baby’s safety while sleeping. Properly secured panels provide a sturdy and reliable environment for your child.
Converting the Crib to a Toddler Bed
To convert the Jenny Lind Crib into a toddler bed, start by removing the front rail and lowering the mattress to its lowest position. Attach the toddler rail to the crib frame, ensuring it is securely fastened with the provided hardware. Tighten all bolts and screws to maintain stability. Adjust the mattress support system to the appropriate height for a toddler bed. Double-check all connections and ensure the bed is stable. Test the bed gently to confirm it does not wobble. Follow the instruction manual carefully to ensure a safe and proper conversion.
Adding the Final Touches
Once the crib is fully assembled, inspect all connections to ensure they are secure and tighten any loose bolts or screws. Double-check that the mattress support system is properly aligned and adjusted to the correct height. Install the mattress and fitted sheet, ensuring they fit snugly within the crib. For a toddler bed conversion, attach any additional accessories like bed rails or guardrails. Finally, add bedding and decor to create a cozy environment for your child. Refer to the manual for any specific recommendations on bedding or accessories. Dispose of all packaging materials safely and keep the assembly instructions handy for future reference.
Safety Considerations
Ensure stability by checking for recalls and compliance. Secure all bolts tightly and inspect regularly for loose parts. Follow safety guidelines to prevent hazards and ensure a safe environment for your child.
Ensuring Stability and Security
Ensuring the crib’s stability and security is crucial for your baby’s safety. Start by verifying that all bolts and hardware are tightly secured during assembly. Regularly inspect the crib for loose joints or parts, as these can compromise stability. Always check for product recalls before assembly and ensure the crib meets current safety standards. Avoid using damaged or missing parts, as they can lead to structural weakness. If unsure about any step, consult the manual or contact the manufacturer for assistance. A secure and stable crib provides peace of mind while your child sleeps or plays.
Checking for Recalls and Compliance

Before assembling the Jenny Lind Crib, check for any recalls or safety notices to ensure compliance with current standards. Visit the manufacturer’s website or the Consumer Product Safety Commission (CPSC) website for updates. Verify that the crib meets ASTM International and JPMA (Juvenile Products Manufacturers Association) certifications. Look for a certification label on the crib to confirm compliance. Ensure all hardware and parts are included and undamaged. Avoid using any crib that has been recalled or modified without manufacturer approval. Compliance with safety standards ensures the crib is safe for your baby and meets regulatory requirements. Always follow safety guidelines provided in the manual.
Troubleshooting Common Issues
Identify and address hardware issues, such as loose bolts or missing parts, to ensure a secure and stable crib assembly. Check for proper joint alignment and tighten any loose connections to guarantee safety and durability. If issues persist, refer to the manual or contact customer support for assistance. Proper troubleshooting ensures the crib is safe and functional for your child.
Addressing Assembly Problems
Common assembly issues include misaligned parts, loose joints, or missing hardware. Start by rechecking all components against the parts list to ensure nothing is missing. If bolts or screws are loose, tighten them securely. Use the provided Allen wrench or tools as specified in the manual. If parts do not fit properly, verify that they are oriented correctly. Refer to the instruction diagrams for visual guidance. For persistent issues, consult the troubleshooting section of the manual or contact customer support. Properly addressing these problems ensures the crib is stable, secure, and safe for your child. Always follow safety guidelines to avoid hazards.
Maintenance and Care
Regularly clean the crib with a damp cloth and mild soap. Avoid harsh chemicals to preserve the finish. Inspect for loose parts and tighten as needed. Refer to the manual for detailed care instructions to ensure longevity and safety.
Cleaning and Upkeep
Regular cleaning and upkeep are essential to maintain the Jenny Lind Crib’s quality and safety. Use a soft, damp cloth with mild soap to wipe down the surface, avoiding harsh chemicals or abrasive cleaners that could damage the finish. For stubborn stains, gently spot clean with a non-toxic solution. Avoid exposing the crib to excessive moisture, as it may warp the wood. Vacuum dust and debris from crevices regularly to prevent buildup. Inspect the crib frequently for loose joints or bolts and tighten them as needed. For wooden parts, consider using a wood conditioner periodically to maintain the finish and prevent drying out. Always follow the manufacturer’s recommendations for cleaning products and maintenance routines to ensure the crib remains safe and durable for years to come.
Long-Term Maintenance Tips
For long-term maintenance of the Jenny Lind Crib, regular inspections and care are essential. Check for loose bolts or joints and tighten them as needed to ensure stability. Avoid exposing the crib to direct sunlight or moisture, as this can cause warping or discoloration. Use a wood conditioner periodically to maintain the finish and prevent drying out. Store any extra hardware in a safe place for future adjustments. Avoid using harsh chemicals or abrasive cleaners, as they can damage the non-toxic finish. By following these tips, you can extend the life of the crib and ensure it remains safe and functional for years to come.
Assembling the Jenny Lind Crib is a manageable task when following the provided instructions carefully. The crib’s sturdy design, convertible features, and non-toxic finish make it a reliable choice for parents. Regular maintenance and safety checks ensure long-term durability and security for your child. By adhering to the assembly and care guidelines, you can create a safe and comfortable sleeping environment. The Jenny Lind Crib’s timeless design and ease of assembly make it a worthwhile investment for your baby’s nursery. Remember to double-check all hardware and components after assembly to ensure everything is secure and functioning properly.